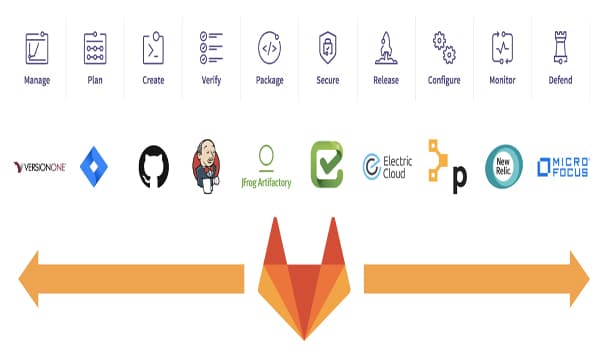
GitLab là gì?
GitLab là hệ thống self-hosted mã nguồn mở dựa trên hệ thống máy chủ Git dùng để quản lý mã nguồn của bạn. GitLab cung cấp giải pháp server một cách hoàn hảo và nhận được sự đánh giá cao từ cộng đồng.

Với GitLab, các tổ chức, cá nhân, doanh nghiệp có thể lưu trữ và quản lý kho code một cách khoa học, an toàn, truy cập nhanh chóng thông qua kết nối internet. GitLab cung cấp một dung lượng lưu trữ miễn phí cho người dùng và bạn có thể trả thêm phí nếu muốn tăng dung lượng.
Đặc điểm cần biết của GitLab là gì?
Hãy cùng BKNET điểm qua một số những đặc điểm cần biết của GitLab gồm:
- Phiên bản GitLab
- Protected branches
- Tầng vật lý của GitLab
- System layout
- Components
Phiên bản GitLab
Các phiên bản của GitLab là gì? Hiện nay, GitLab hỗ trợ 3 phiên bản là:
- Gitlab community edition (CE) là phiên bản cộng đồng, mã nguồn mở, cung cấp qua Git từ kho lưu trữ chứa GitLab. Bản mới nhất của GitLab được các nhà phát triển release tại các nhánh stable và nhánh master.
- GitLab enterprise edition (EE) là Gitlab phiên bản doanh nghiệp, có sẵn không lâu sau khi phát hành bản CE, được cung cấp từ kho lưu trữ của gitlab.com. Khi một doanh nghiệp đăng ký GitLab sẽ nhận được sự support của GitLab BV khi gặp khó khăn trong quá trình cài đặt và sử dụng.
- Gitlab continuous integration (CI) là một giải pháp tích hợp được thực hiện bởi nhóm phát triển Gitlab.
Tại sao nên dùng GitLab?

GitLab mang đến nhiều lợi thế cho các lập trình viên
Những lý do khiến bạn cần sử dụng GitLab là gì?
- Mang lại sự tiện lợi cho các lập trình viên khi cần lưu trữ, tải lên, tải xuống code.
- Kiểm soát các thay đổi trong code nhanh chóng, chính xác.
- Hỗ trợ việc quản lý, phân phối công việc trong các dự án lập trình hiệu quả hơn.
Tầng vật lý của GitLab
- Kho lưu trữ: Là nơi xử lý các dự án GitLab, các dự án có thể được lưu tại warehouse.
- Nginx có cách thức hoạt động giống như front-desk, người dùng đến Nginx và yêu cầu hành động thực hiện bởi worker.
- GitLab-sell: Thực hiện nhiệm vụ tạo ra các đơn đặt hàng từ máy fax (SSH) thay vì front-desk.
- GitLab enterprise edition: Là tập hợp cấc quy trình và hoạt động kinh doanh được điều hành bởi office.
Hướng dẫn cài đặt Gitlab trên CentOS 7
Yêu cầu
Yều cầu cài đặt với hệ điều hành CentOS 7 với cấu hình
- CPU: 4 Core
- RAM: 4 GB
- Disk: 100 GB
Lưu ý, trong bài node Gitlab sẽ có IP là 192.168.10.100
Bước 1: Chuẩn bị môi trường
Cập nhật hệ điều hành
yum install epel-release -y
yum update -y
Thiết lập Hostname
hostnamectl set-hostname gitlab.bknet.edu.vn
Tắt SELinux
sed -i 's/SELINUX=enforcing/SELINUX=disabled/g' /etc/sysconfig/selinux
sed -i 's/SELINUX=enforcing/SELINUX=disabled/g' /etc/selinux/config
Cấu hình đồng bộ thời gian
timedatectl set-timezone Asia/Ho_Chi_Minh
yum -y install chrony
systemctl enable chronyd.service
systemctl restart chronyd.service
chronyc sources
timedatectl set-local-rtc 0
Khởi động lại (Tại bước này nên snapshot lại VM)
init 6
Bước 2: Cài đặt Gitlab
Cài đặt gói phụ thuộc
sudo yum install -y curl policycoreutils-python openssh-server
sudo systemctl enable sshd
sudo systemctl start sshd
Cài đặt repo Gitlab
curl https://packages.gitlab.com/install/repositories/gitlab/gitlab-ce/script.rpm.sh | sudo bash
Cài đặt Gitlab CE
sudo EXTERNAL_URL="http://gitlab.bknet.edu.vn" yum install -y gitlab-ce
Kết quả:
Running handlers complete
Chef Infra Client finished, 568/1519 resources updated in 04 minutes 35 seconds

Notes:
Default admin account has been configured with following details:
Username: root
Password: You didn't opt-in to print initial root password to STDOUT.
Password stored to /etc/gitlab/initial_root_password. This file will be cleaned up in first reconfigure run after 24 hours.

NOTE: Because these credentials might be present in your log files in plain text, it is highly recommended to reset the password following https://docs.gitlab.com/ee/security/reset_user_password.html#reset-your-root-password.

gitlab Reconfigured!

       *.                  *.
      ***                 ***
     *****               *****
    .******             *******
    ********            ********
   ,,,,,,,,,***********,,,,,,,,,
  ,,,,,,,,,,,*********,,,,,,,,,,,
  .,,,,,,,,,,,*******,,,,,,,,,,,,
      ,,,,,,,,,*****,,,,,,,,,.
         ,,,,,,,****,,,,,,
            .,,,***,,,,
                ,*,.


     _______ __  __          __
    / ____(_) /_/ /   ____ _/ /_
   / / __/ / __/ /   / __ `/ __ \
  / /_/ / / /_/ /___/ /_/ / /_/ /
  \____/_/\__/_____/\__,_/_.___/


Thank you for installing GitLab!
GitLab should be available at http://gitlab.bknet.edu.vn

For a comprehensive list of configuration options please see the Omnibus GitLab readme
https://gitlab.com/gitlab-org/omnibus-gitlab/blob/master/README.md

Help us improve the installation experience, let us know how we did with a 1 minute survey:
https://gitlab.fra1.qualtrics.com/jfe/form/SV_6kVqZANThUQ1bZb?installation=omnibus&release=14-3

  Verifying  : gitlab-ce-14.3.0-ce.0.el7.x86_64                                                                                                                  1/1

Installed:
  gitlab-ce.x86_64 0:14.3.0-ce.0.el7

Complete!
[root@gitlab ~]#
Bước 3: Mở cổng 80 và 443 trên Firewall
sudo firewall-cmd --zone=public --add-port=80/tcp --permanent
sudo firewall-cmd --zone=public --add-port=443/tcp --permanent
sudo firewall-cmd --reload

hoặc

sudo firewall-cmd --permanent --add-service=http
sudo firewall-cmd --permanent --add-service=https
sudo systemctl reload firewalld
Bước 4: Thiết lập Gitlab cơ bản
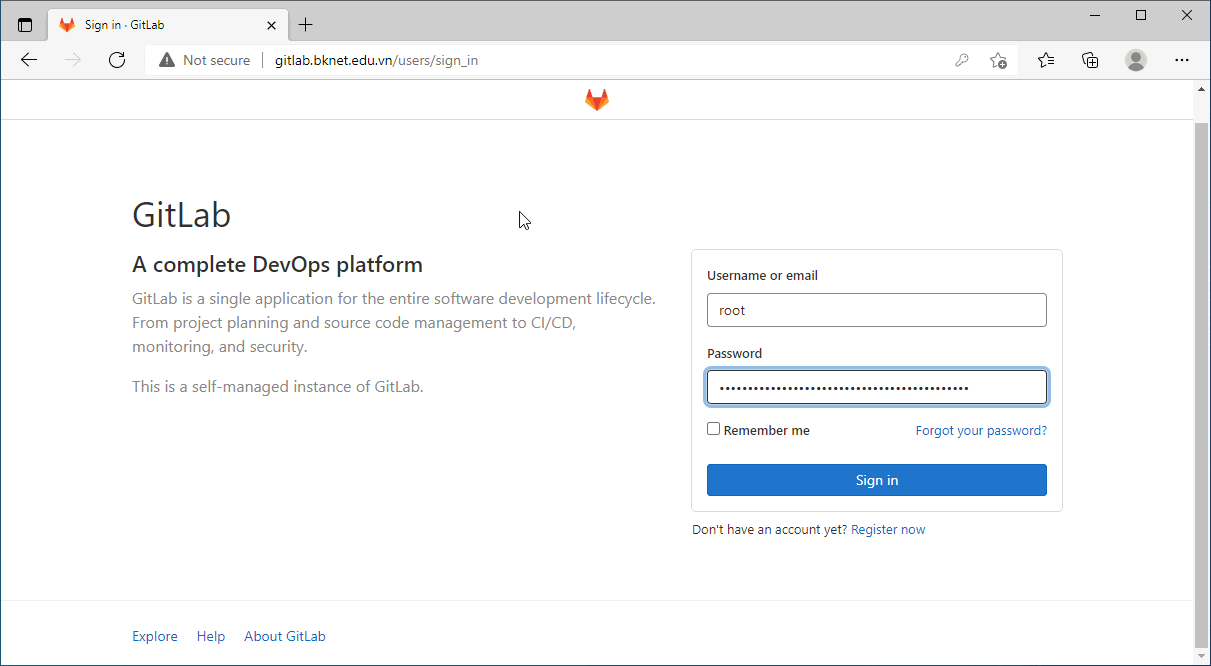
Mật khẩu được tạo ngẫu nhiên và được lưu trữ trong 24h tại file /etc/gitlab/initial_root_password Sử dụng mật khẩu này với tên người dùng rootđể đăng nhập.
Truy cập đường dẫn http://gitlab.bknet.edu.vn
cat /etc/gitlab/initial_root_password
Kết quả:
[root@gitlab ~]# cat /etc/gitlab/initial_root_password
# WARNING: This value is valid only in the following conditions
#          1. If provided manually (either via `GITLAB_ROOT_PASSWORD` environment variable or via `gitlab_rails['initial_root_password']` setting in `gitlab.rb`, it was provided before database was seeded for the first time (usually, the first reconfigure run).
#          2. Password hasn't been changed manually, either via UI or via command line.
#
#          If the password shown here doesn't work, you must reset the admin password following https://docs.gitlab.com/ee/security/reset_user_password.html#reset-your-root-password.

Password: vC1qj/jJ4Qv9PE0DGSZ0P66xoRRUofl60wzC/g7ff8I=

# NOTE: This file will be automatically deleted in the first reconfigure run after 24 hours.
[root@gitlab ~]# d
Giao diện đang nhập

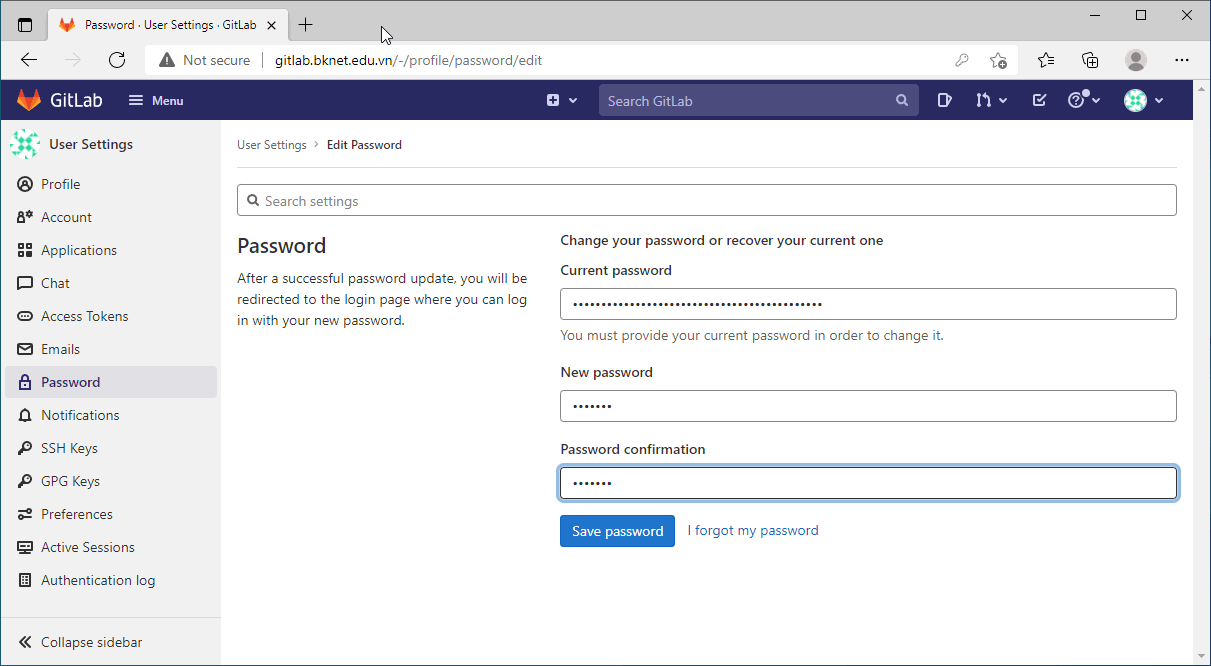
Đổi mật khẩu mặc định Root

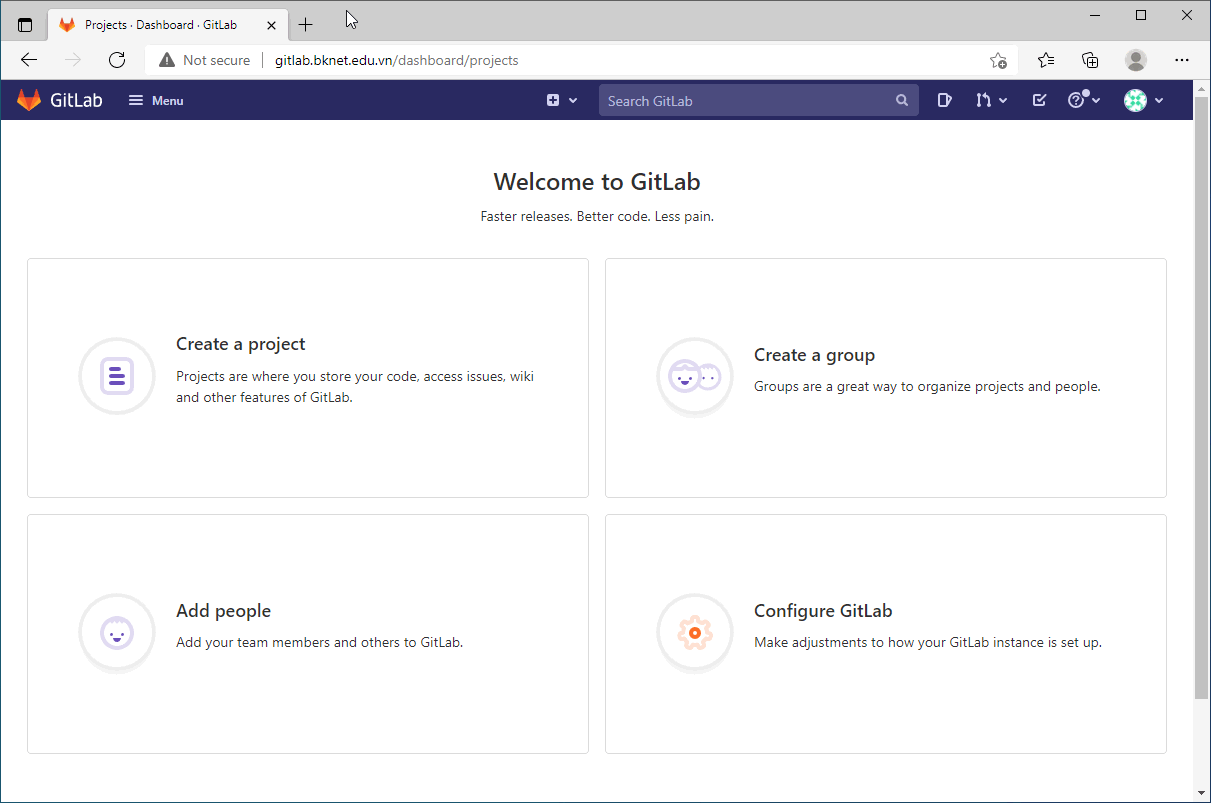
Giao diện GitLab

Tổng kết
Trong bài viết này, chúng ta đã tìm hiểu GitLab là gì? Cách cài đặt GitLab trên CentOS 7 có thể giúp bạn hiểu hơn về GitLab từ đó có thể cài đặt và sử dụng GitLab để mang lại hiểu quả tốt hơn trong quá trình làm việc. Chúc các bạn thành công. Ngoài ra bạn đang tìm hiểu về GitLab, Ansible, Docker, K8s có thể tham khảo khoá học DevOps
Nguồn cài đặt: gitlab.com


